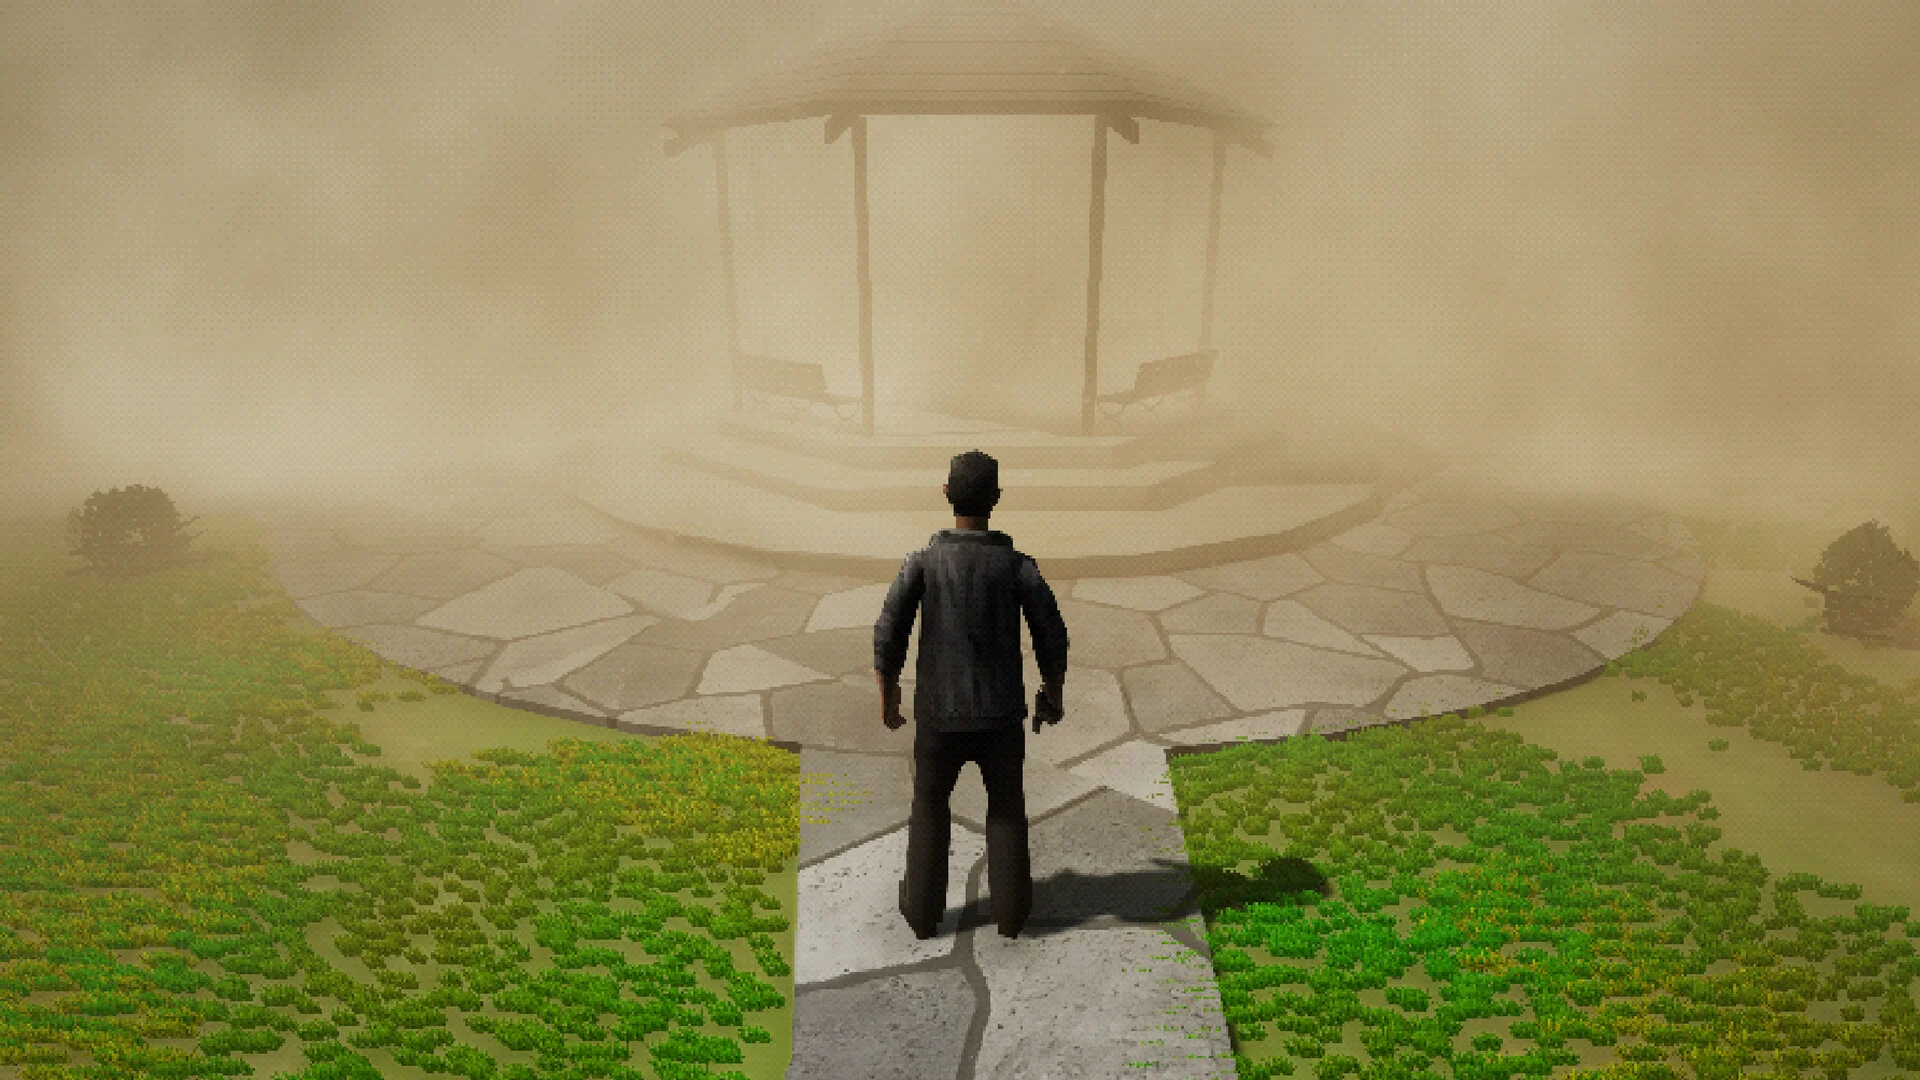
- Sarab hidden puzzle guide: Covers all five major environmental puzzles, from the ruins entrance to the final door.
- Symbol notes matter: Glyphs recorded throughout the story are reused in the final door sequence.
- Hint-first format: Each puzzle lists a nudge before the full answer, so you can avoid spoilers if preferred.
- Secret ending link: The elder's riddle and hidden lore findings feed directly into the true ending route.
- Explore twice: Rooms change after story events, so re-sweep every area before moving on.
Puzzle Overview: What to Expect
Sarab is an environmental-puzzle-driven horror experience set in a distorted Gulf neighborhood. Its puzzles are rarely about reflexes — they reward observation, note-taking, and careful reading of the world around you. Before diving into specific solutions, understand the five puzzle types you will encounter.
| # | Puzzle | Location | Difficulty | Missable Impact |
|---|---|---|---|---|
| 1 | Symbol Wall Puzzle | Desert Ruins Entrance | ★★ | Low |
| 2 | Light and Mirror Puzzle | Ruins Interior | ★★★ | Low |
| 3 | Weighted Plate Puzzle | Underground Passage | ★★★ | Low |
| 4 | Dialogue Riddle | Village Elder | ★ | High — affects secret ending |
| 5 | Final Door Sequence | Beneath the Sands | ★★★★ | High — gates final area |
Observation Puzzles
- Symbol matching on walls and pillars
- Answers carved nearby in the same area
- Glyphs recur later in the story
Physics Puzzles
- Light and mirror redirection
- Weighted plates and pressure triggers
- Wrong inputs can spring traps
Knowledge Puzzles
- Dialogue riddles from characters
- Correct answers unlock extra clues
- Feed into the secret ending route
From the moment you enter the ruins, write down every glyph you encounter and where you found it. The final door sequence asks you to replay symbols in the order you first discovered them, and there is no in-game reminder of that order.
Symbol Wall Puzzle — Desert Ruins Entrance
This is the first real puzzle most players hit, and it teaches the game's core design language: the answer is always somewhere in the environment.
Hint: The solution is carved elsewhere in the same area — check the weathered inscriptions near the entrance pillars.
Locate the Two Pillars
Examine the pillars flanking the sealed gate. Each pillar displays highlighted glyphs that are distinct from the decorative carvings around them.
Record the Glyphs
Note the glyphs on the left pillar first, then the right. The physical arrangement of the pillars defines the input order.
Input the Sequence
At the wall panel, enter the glyphs from left pillar to right pillar. The sealed gate opens once the full sequence is entered correctly.
Players who beeline to the wall panel often miss the pillar inscriptions entirely, since they are weathered and easy to overlook in the dusty lighting. Interact with both pillars explicitly before touching the panel.
Light, Mirrors, and Weighted Plates
The ruins interior and underground passage contain the game's two mechanical puzzles. Both punish guesswork, so work through them methodically.
Light and Mirror Puzzle — Ruins Interior
Hint: Sunlight can only reach one wall unless you redirect it.
Rotate the three mirrors so the beam travels from the ceiling opening to the far wall sigil. The correct configuration:
| Mirror | Direction | Purpose |
|---|---|---|
| First | Tilt toward the corridor | Carries beam away from entry shaft |
| Second | Tilt toward the central pillar | Bounces beam across the chamber |
| Third | Tilt upward | Strikes the sigil, opens inner chamber |
Weighted Plate Puzzle — Underground Passage
Hint: Not every plate needs a stone — count the symbols above them.
Four plates sit in the passage, but only two should carry weight. Examine the symbols above each plate: only the plates marked with two dots are safe. Place stone blocks on those two plates only — the remaining two are trap plates that trigger if loaded. The hidden door opens once the correct pair is weighted.
The underground passage is one of the confirmed hidden-path zones in Sarab. After solving the plate puzzle, check the walls behind the newly opened door — some sealed routes in this area only become visible after the mechanism activates.
The Elder's Riddle and Hidden Clues
Not every puzzle in Sarab is mechanical. The village elder poses a riddle whose answer affects your access to optional story content.
Hint: The riddle describes something that travels but never moves.
The answer is "the road" (rendered as "sand" in some translations). Answering correctly earns an extra clue, and that clue is one of the conditions that helps unlock the secret ending. Answering incorrectly does not block progression, but you lose the bonus lore — and with it, part of the true-ending route.
Correct Answer Route
- Answer "the road"
- Receive the extra clue
- Counts toward the secret ending conditions
Wrong Answer Route
- Story continues normally
- No extra clue given
- Secret ending becomes harder to reach
Manual-save before speaking with the elder. If you answer wrong and later want the secret ending, reloading is far faster than replaying the chapter.
Final Door Sequence — Beneath the Sands
The last and most demanding puzzle tests everything you have recorded across the entire game.
Hint: Every symbol you have recorded throughout the game matters here.
Enter the four glyphs in the order you first encountered them across the story:
| Order | Source Location | Puzzle Context |
|---|---|---|
| 1st | Ruins entrance | Symbol wall pillars |
| 2nd | Mirror chamber | Sigil struck by the light beam |
| 3rd | Underground passage | Symbols above the weighted plates |
| 4th | Elder's chamber | Glyph from the riddle reward clue |
The correct sequence opens the path to the final area. If a glyph input is rejected, retrace which location you actually visited first — players who explore out of order often mix up positions one and two.
Before guessing, open the in-game journal. Key discoveries are logged as you make them, and the journal order often mirrors the intended sequence. It is the fastest way to verify your glyph list at the final door.
Puzzle Completion Checklist:
- Examine both entrance pillars and record the glyphs
- Solve the mirror puzzle and open the inner chamber
- Weight only the two-dot plates in the underground passage
- Answer the elder's riddle correctly for the extra clue
- Enter all four glyphs in discovery order at the final door
FAQ
Q: Do I need to solve every puzzle to finish Sarab?
The main environmental puzzles gate progression, so the symbol wall, mirror puzzle, plate puzzle, and final door must be solved to advance. The elder's riddle is optional in the sense that a wrong answer does not block the story, but it removes a clue needed for the secret ending.
Q: Can I retry a puzzle if I get it wrong?
Yes. Puzzle inputs in Sarab can be reattempted without penalty in most cases. The main exceptions are trap plates in the underground passage, which trigger on incorrect weight placement — save beforehand so a mistake does not cost you progress.
Q: How does this Sarab hidden puzzle guide help with the secret ending?
Several puzzles feed the secret-ending route: the elder's riddle grants an extra clue, and thorough exploration of the ruins and underground areas is required to discover all major secrets before making the aligned final choices in the last chapter.
Q: What if I forgot the symbol order for the final door?
Check your journal — key discoveries are recorded as you make them and often reflect the discovery order. The intended sequence is: ruins entrance, mirror chamber, underground passage, then the elder's chamber.