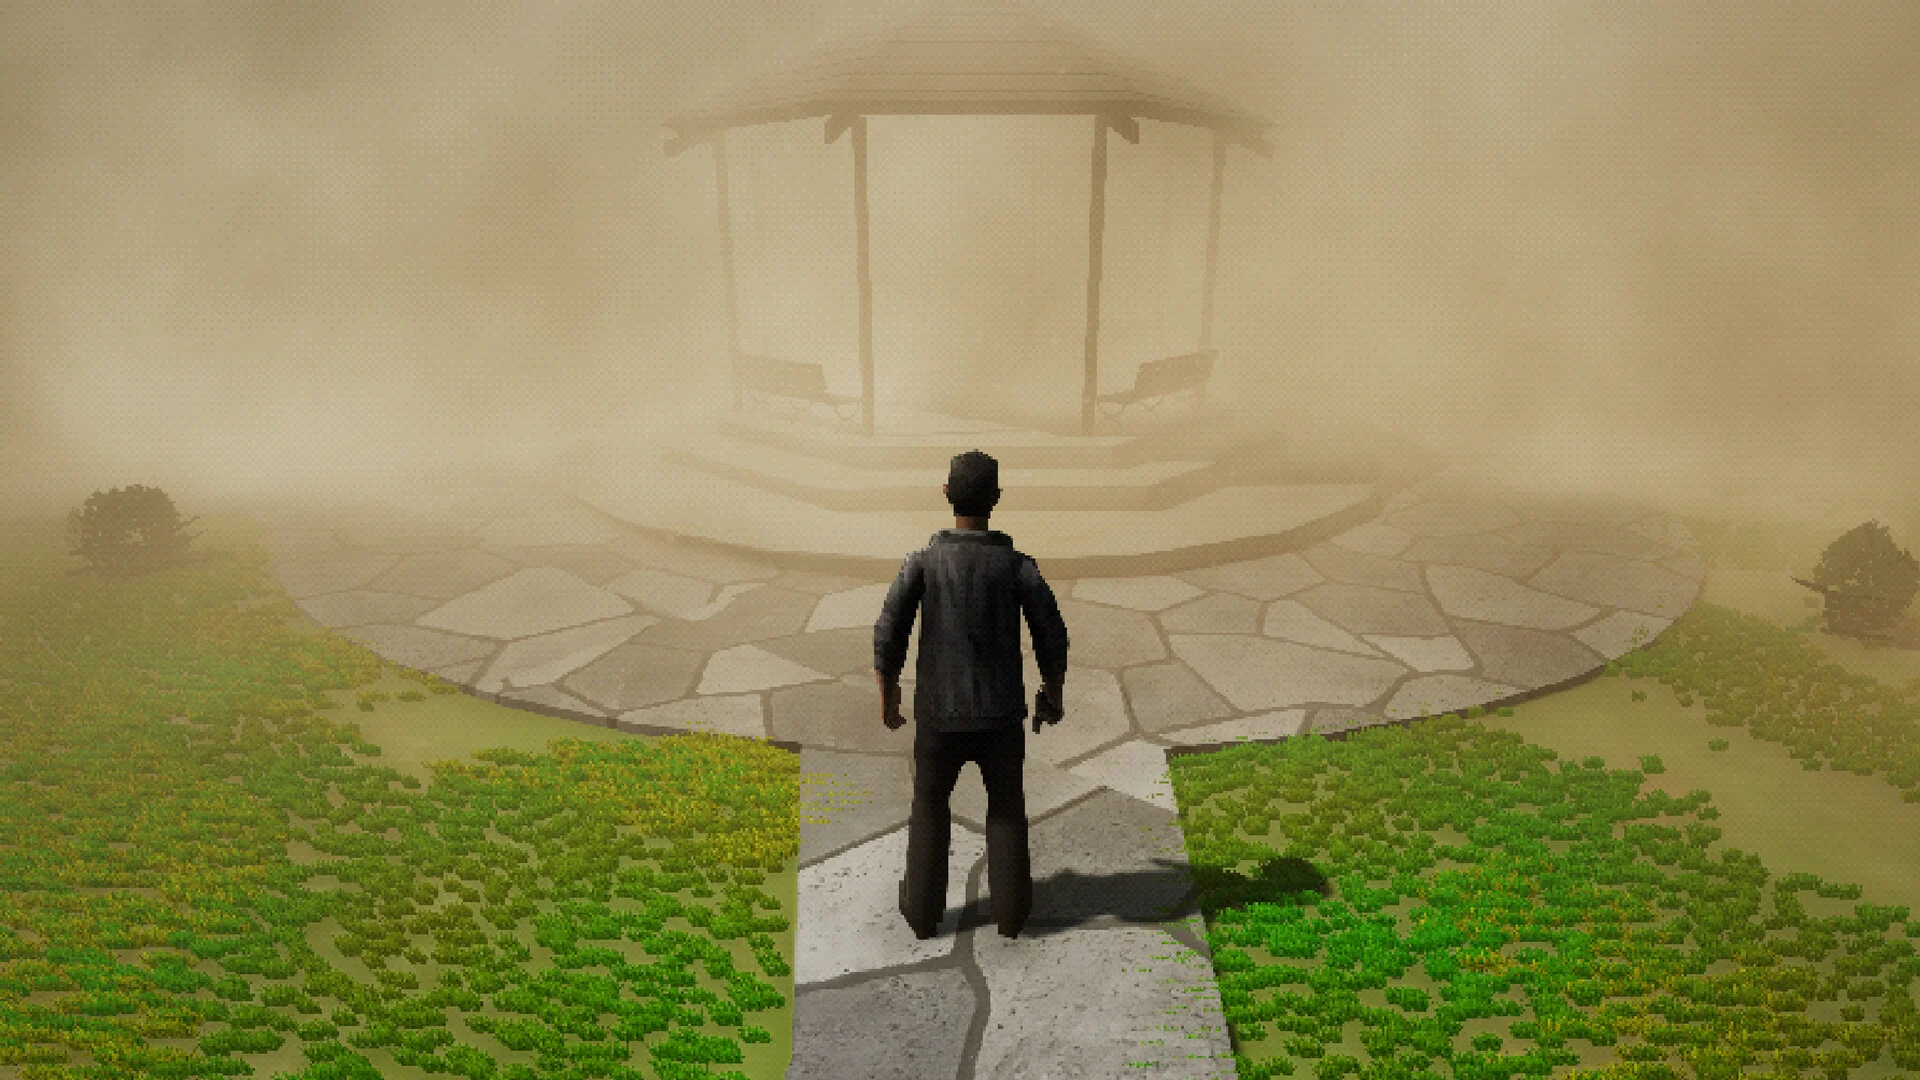
- Sarab puzzle solutions for all major environmental puzzles, from ruins to underground.
- Read first: hints appear before answers, so you can avoid spoilers.
- Keep a symbol log: glyphs recur and matter in the final door sequence.
- The elder's riddle rewards a clue tied to the secret ending.
- Journal checks unstick you faster than wandering the map.
Sarab Puzzle Solutions Overview
Sarab is built around environmental puzzles woven into exploration and story. Instead of abstract mini-games, most challenges use the world itself — carvings on pillars, beams of sunlight, pressure plates, and dialogue riddles. This guide lists every major puzzle with its location, a spoiler-light hint, and then the full solution.
| Puzzle | Location | Difficulty | Notes |
|---|---|---|---|
| Symbol Wall | Desert Ruins Entrance | ★★ | Glyphs carved on nearby pillars |
| Light and Mirror | Ruins Interior | ★★★ | Sunbeam redirection |
| Weighted Plates | Underground Passage | ★★ | Symbol counting logic |
| Elder's Riddle | Desert Village | ★ | Dialogue answer |
| Final Door | Beneath the Sands | ★★★★ | Requires recorded glyphs |
Write down every glyph and symbol you encounter, even early ones. The final door puzzle reuses symbols from across the entire game, and players who skip note-taking usually have to backtrack through multiple areas.
Puzzle Locations and How to Reach Them
Puzzles appear in story order, so if you are hunting a specific solution, first confirm you have reached the right chapter. The table below maps each puzzle to its chapter and trigger.
| Chapter | Area | Puzzle Found There |
|---|---|---|
| Chapter 1 | Starting area | None — tutorial exploration only |
| Chapter 2 | Desert Village | Elder's riddle (dialogue) |
| Chapter 3 | Ancient Ruins | Symbol wall, light and mirror |
| Chapter 4 | Underground passages | Weighted plates |
| Final | Beneath the Sands | Final door sequence |
Village Puzzles
- Dialogue-based
- Triggered by talking
- Affects secret ending
- No replay needed if saved
Ruins Puzzles
- Environmental
- Observation-heavy
- Symbols recur later
- Light mechanics involved
Underground Puzzles
- Logic-based
- Trap risk on errors
- Save beforehand
- Tied to final choices
Weighted plates and door sequences can trigger traps or lock you into outcomes. Create a manual save before interacting with any puzzle mechanism, especially in the underground passages.
Hints First, Then Full Solutions
Use the hints to nudge yourself toward the answer. Only read the solution lines if you are truly stuck.
Symbol Wall — Desert Ruins Entrance
- Hint: the answer is carved elsewhere in the same area. Check weathered inscriptions near the entrance pillars.
- Solution: examine the two pillars flanking the entrance, note the highlighted glyphs, then input them on the wall panel in left-to-right pillar order to open the sealed gate.
Light and Mirror — Ruins Interior
- Hint: sunlight can only reach one wall unless you redirect it.
- Solution: rotate the three mirrors so the beam travels from the ceiling opening to the far wall sigil — first mirror toward the corridor, second toward the central pillar, third tilted upward onto the sigil.
Weighted Plates — Underground Passage
- Hint: not every plate needs a stone. Count the symbols above them.
- Solution: place stone blocks only on the two plates marked with two dots. The other two are traps.
Elder's Riddle — Village
- Hint: the riddle describes something that travels but never moves.
- Solution: answer "the road" (or "sand" in some translations). A correct answer grants an extra clue that helps unlock the secret ending.
Final Door — Beneath the Sands
- Hint: every symbol you recorded matters here.
- Solution: enter the four glyphs in the order you first found them — ruins entrance, mirror chamber, underground passage, then the elder's chamber.
Whenever you feel stuck, open the journal. Sarab records key clues there, and it often points directly to the area or character you should investigate next.
Solve Any Sarab Puzzle: Step-by-Step Method
Beyond specific answers, a repeatable method solves nearly every puzzle in Sarab:
Scan the Environment
Look for highlighted or glowing objects, inscriptions, and anything that stands out from the dusty, decayed surroundings.
Read Everything
Notes and documents contain puzzle hints, codes, and warnings. Skipping reading material is the most common reason players get stuck.
Log Symbols and Clues
Record glyphs, numbers, and riddle phrasing in the in-game journal or on paper for cross-referencing later.
Test Interactions Deliberately
Interact with mechanisms one at a time after saving, so you can identify cause and effect without resetting progress.
Check the Journal When Stuck
The journal frequently hints at the next area or character to investigate, often resolving puzzle dead-ends without a walkthrough.
Items, notes, and even puzzle elements can appear only after story events change an area. Do a second sweep of every location before moving on — it uncovers missed clues and collectibles.
Puzzle Completion Checklist
Puzzle Mastery Goals:
- Solve the symbol wall at the ruins entrance
- Redirect the light beam onto the far wall sigil
- Trigger only the correct weighted plates
- Answer the elder's riddle correctly
- Enter the final door glyph sequence in order
FAQ
Q: Do Sarab puzzle solutions change between playthroughs?
The core solutions stay consistent, but some content appears only after story events change an area. If a puzzle element is missing, advance the story and revisit the location.
Q: Can I miss puzzles entirely in Sarab?
Yes. Optional puzzles like the elder's riddle can be skipped, and skipping them closes off clues tied to the secret ending. Reload an earlier save rather than restarting if you miss one.
Q: Why do the ruins symbols matter later in the game?
The final door beneath the sands asks for four glyphs in the order you first encountered them. The Sarab puzzle solutions for earlier areas feed directly into that sequence.
Q: What is the safest way to attempt the weighted plate puzzle?
Save first, count the dots above each plate, and place stones only on the two-dot plates. The remaining plates are traps that punish guesswork.